


oh, it's actually 3 separate bookcases, okay
scrappy storage for sloppy girls
Hi, sorry, I’m back, sorry
As a reminder, this will be a home improvement newsletter for the foreseeable future. Does that disgust you? Does it fill you with malice?
Our Brooklyn apartment has these long, uninterrupted walls. In Chicago, we lived in an oddly-shaped little railroad of a place, with lots of wall segments all cobbled together at mysterious angles and a bedroom that bordered on hexagonal. Before that, I lived in an open, airy one-bedroom, with very few walls actually separating the rooms. Each apartment was cozy in its own way, but both were limited in terms of accommodating big-ass furniture.
The Brooklyn apartment is screaming for some big-ass furniture.
An unusual problem to have in New York, I know. (If it’s any consolation, we have bugs and mice and a super who might be a ghost, and our building lobby always smells like tuna and weed.) Thing is, big-ass furniture is expensive. Thus, I’m in the process of cobbling together a few large storage solutions from raw lumber, industrial wall brackets, and IKEA bits and bobs.
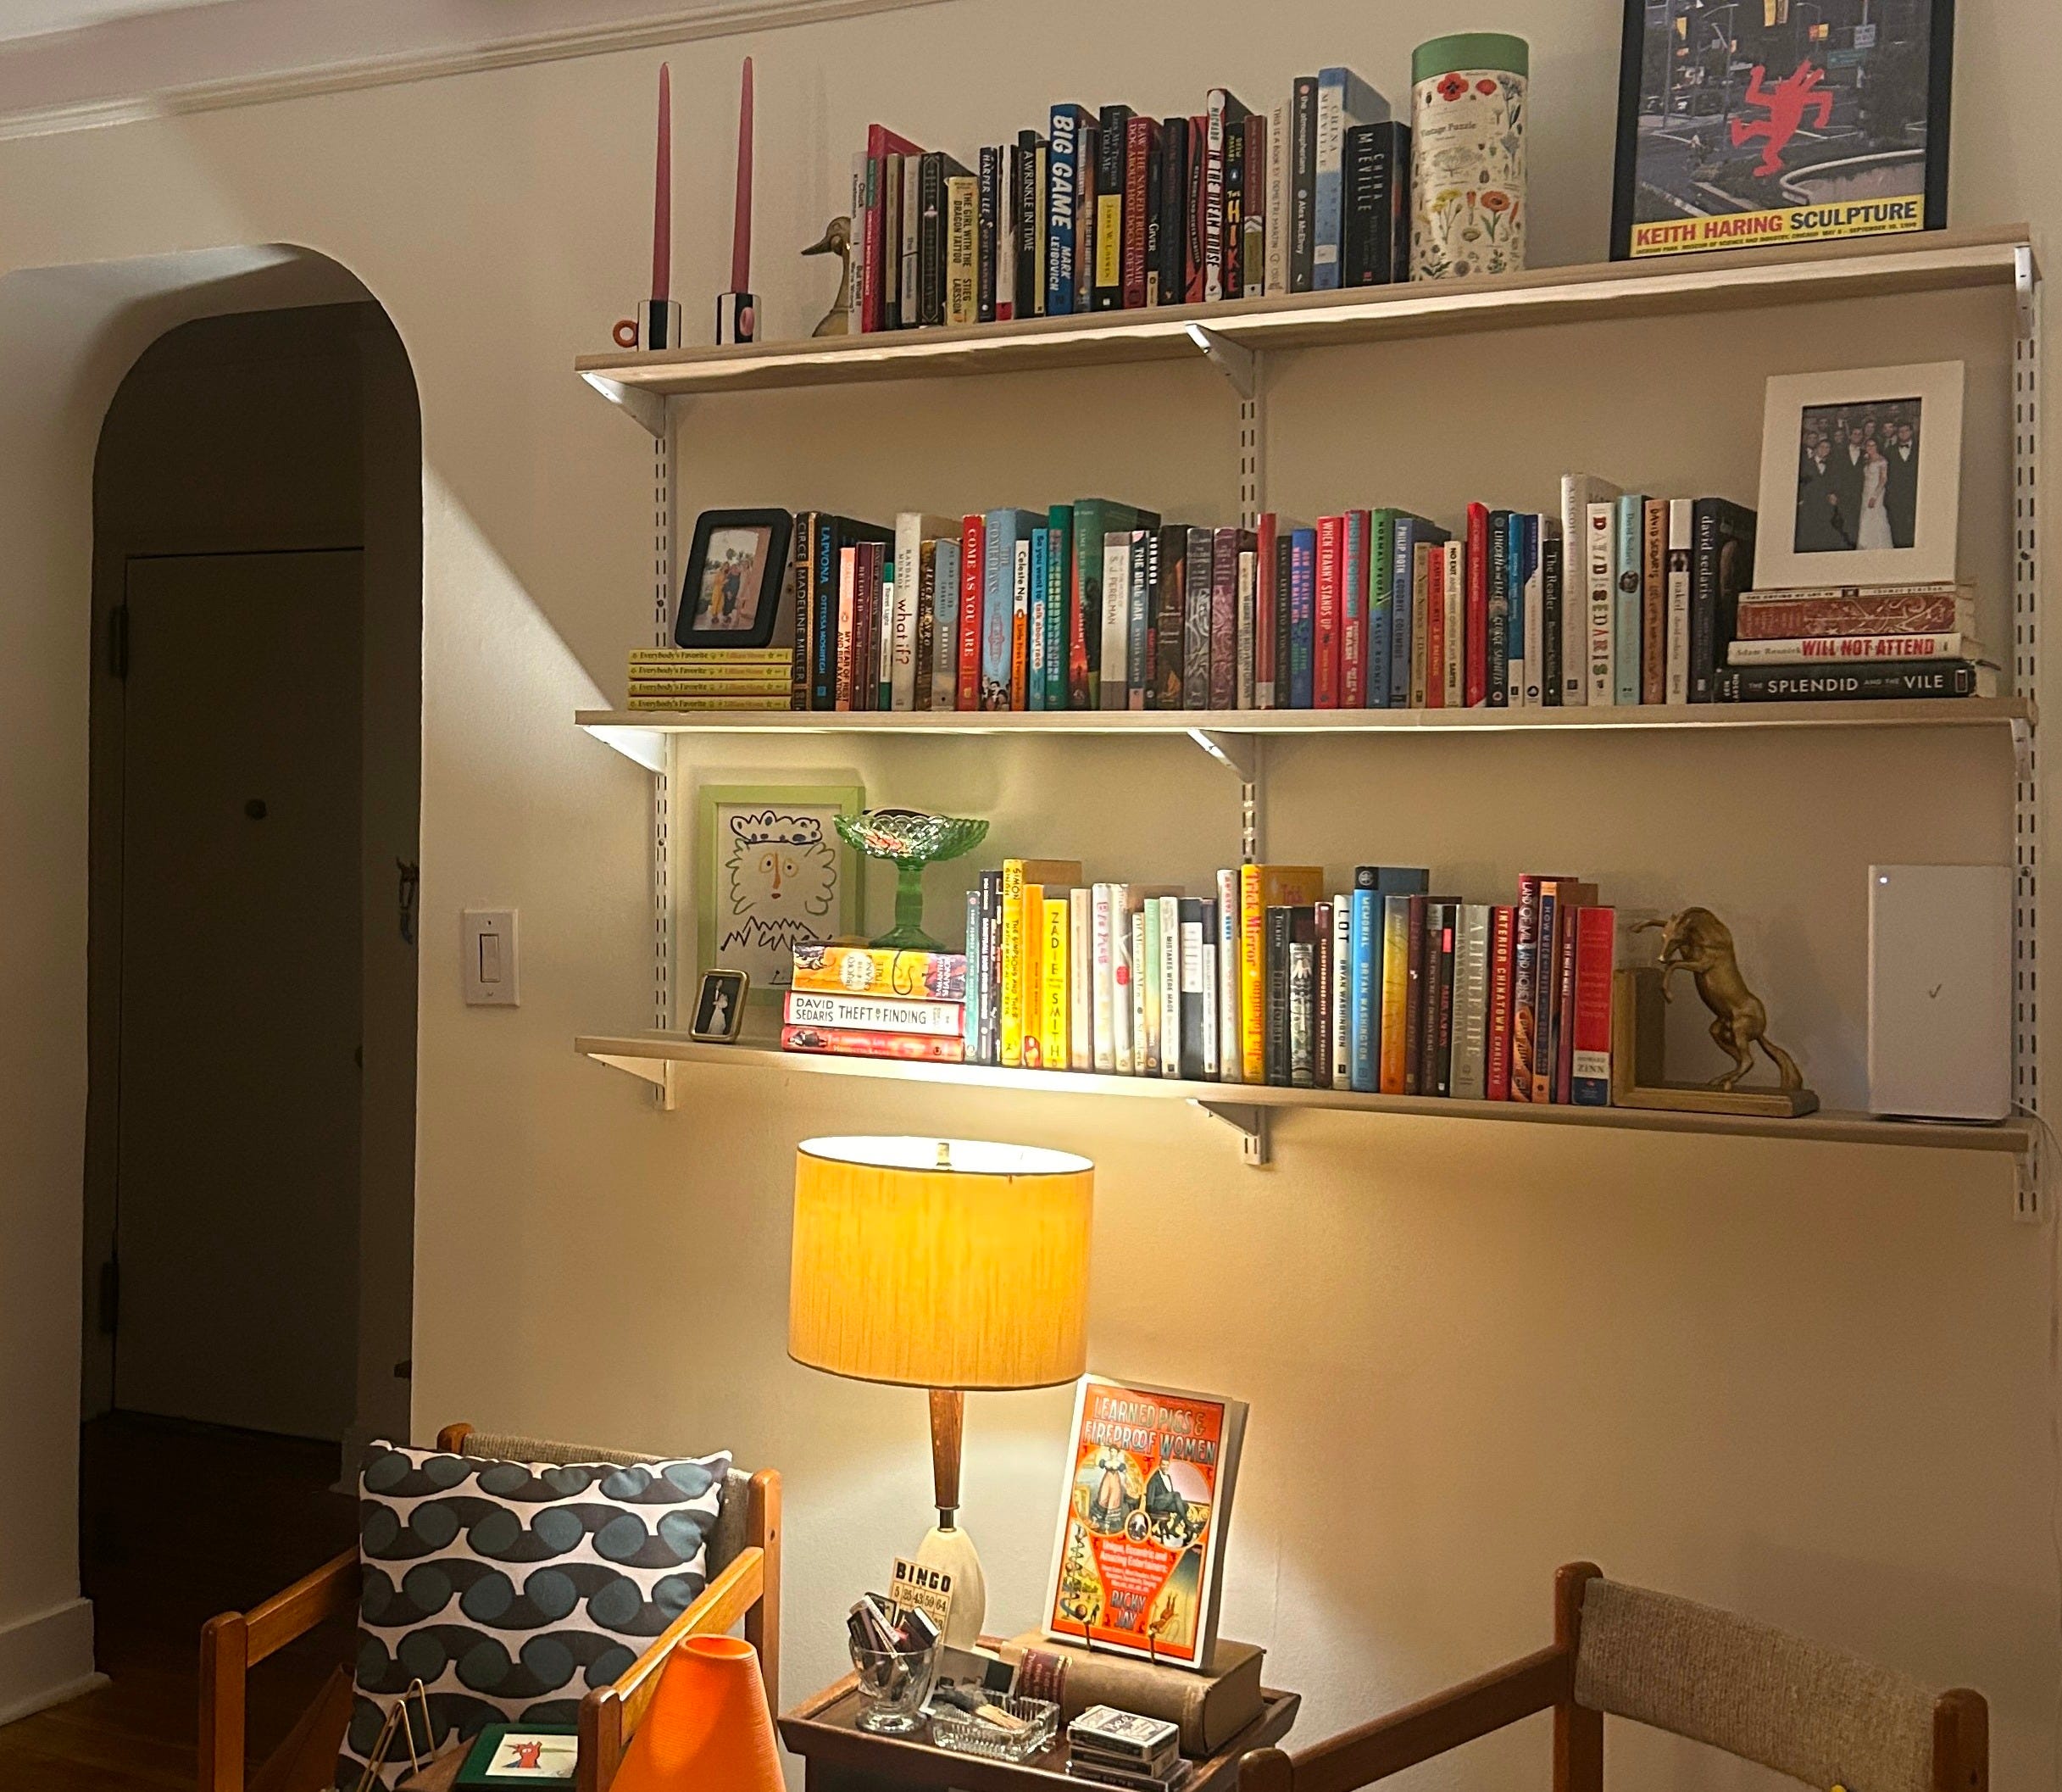
project #1: bookshelves that don’t cost a million dollars
Bookshelves cost one million dollars, but I am going to tell you something: You can just buy wood. The stuff bookshelves are made out of. There are men who will sell it to you.
I knew I wanted three giant shelves to take up one of the aforementioned large, empty walls in our apartment foyer. I started with these wall mounts from Menard’s, which are cheap and pretty easy to install if you have a level. DO NOT INSTALL THESE WITHOUT A LEVEL OR YOU WILL SUFFER
I screwed ‘em in with drywall anchors, measured the space between the brackets, then popped over to Dyke’s Lumber on Sixth and asked the nice man at the counter to cut me three slabs of untreated poplar (cheap, and sturdier than pine) to span the length of the brackets. Screwed the poplar to the brackets, boom. Three giant bookshelves, less than $120 in the can.
project #2: IKEA nightmare
Once I mounted my shelves, which I think look quite nice, I moved on to the rental DIY-er’s most treacherous rite of passage: the IKEA hack. I wanted something that looked like this, but in a nice, rusty red:

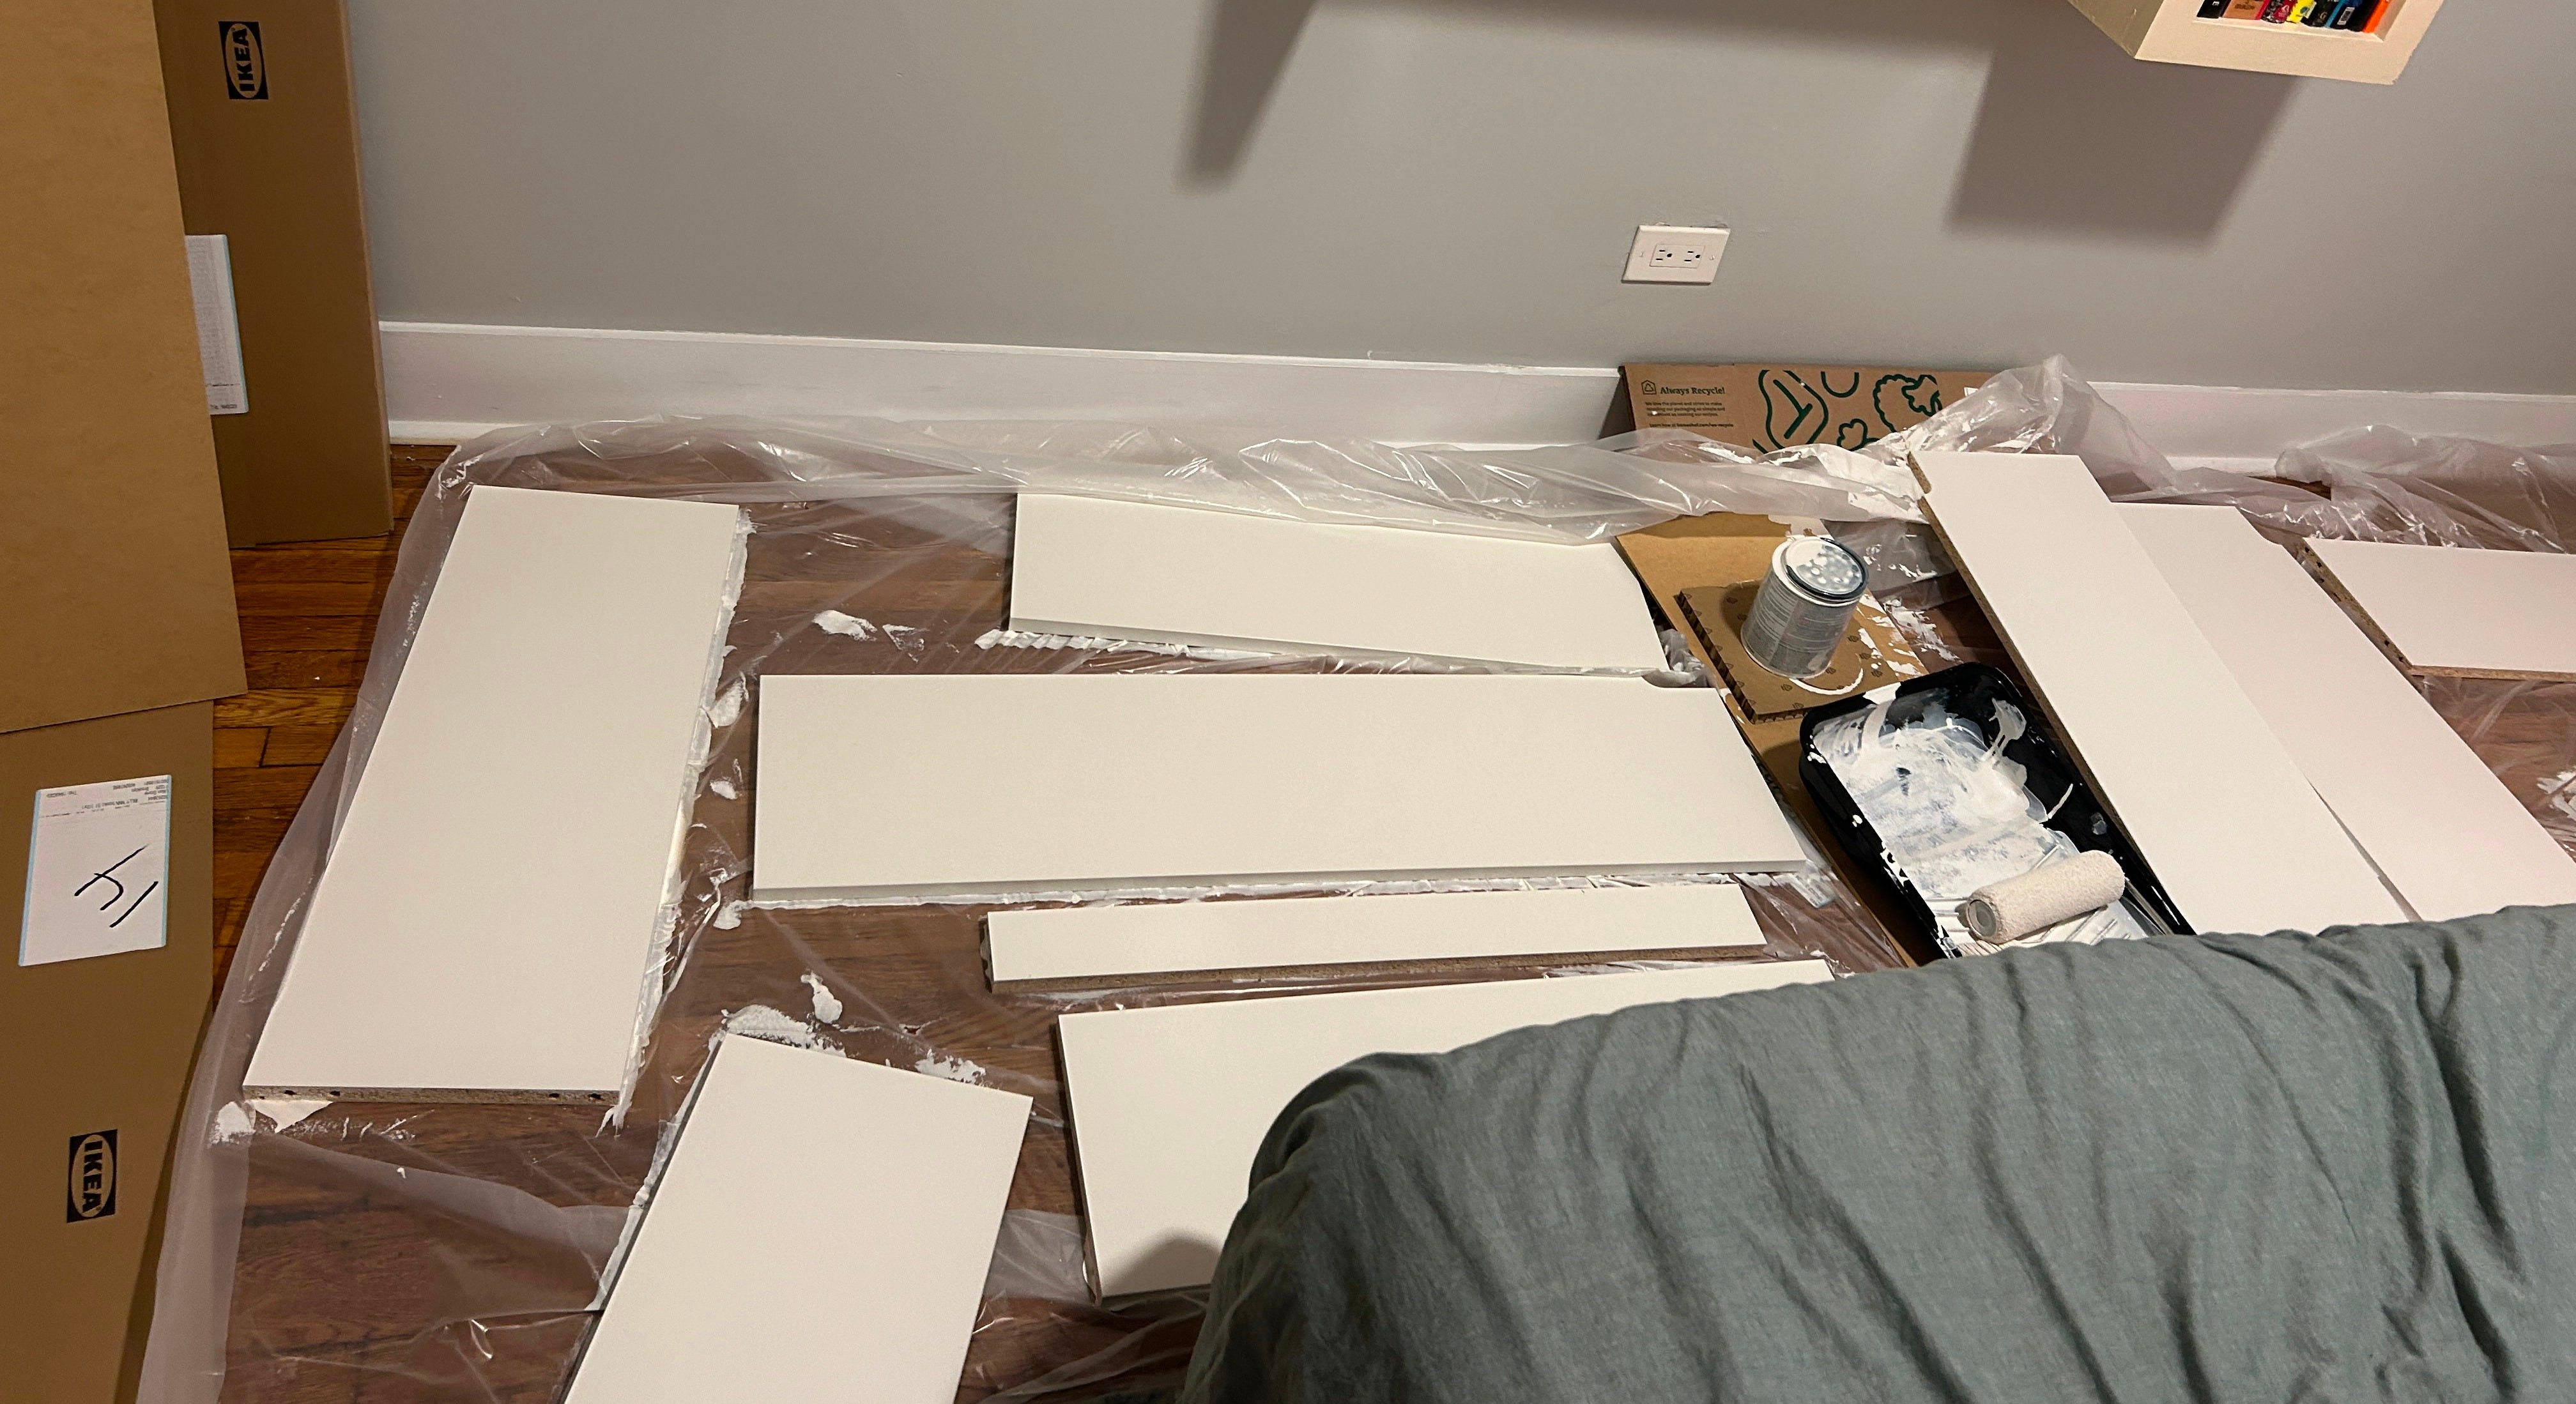
This project was a beast from the get, partly because of IKEA’s editorial treachery. I purchased your classic BILLY, IKEA’s cheapest particle-board bookcase, in the long, horizontal configuration, with the intention of priming and painting it for a classier effect. The IKEA website lists this particular bookcase as 94 inches long, which is massive. Turns out, this BILLY, if that IS HIS REAL NAME, is not one bookcase. He is three separate bookcases, meant to be… placed next to each other? To mimic one long bookcase?
Anyway, it took me like two weeks and compromised my health and wellness. Here’s how it went:
Day 1: I unpacked and primed all the slabs (see header photo above). I used B-I-N shellac-based primer, which smells like nuclear war and gave my dog an asthma attack but is the only suitable option for slippery, laminate-covered particle board.
Day 2: Slapped the first coat of paint on one side of the slabs.

Day 3: Slapped the second coat of paint on all the slabs.
Day 4: Flipped the slabs; applied one coat of paint on opposite side of all slabs. Waited 24 hours.
Day 5: Assembled the bookcases and screwed them all together so they formed a cohesive unit.
Day 6: Moved the bookcases to the entryway for further painting. Plopped ‘em on a sheet of plastic to protect the floors. Added another coat of paint.
Day 7–9: I spent three more days applying a coat of paint, then waiting 24 hours, then applying another coat before I was satisfied with the coverage.
Day 18: I waited more than a week before I placed anything on the bookcases, because I wanted to let the paint fully cure. Dry paint is not the same as cured paint. Honestly, I probably could’ve given it another week to cure.
The final product:
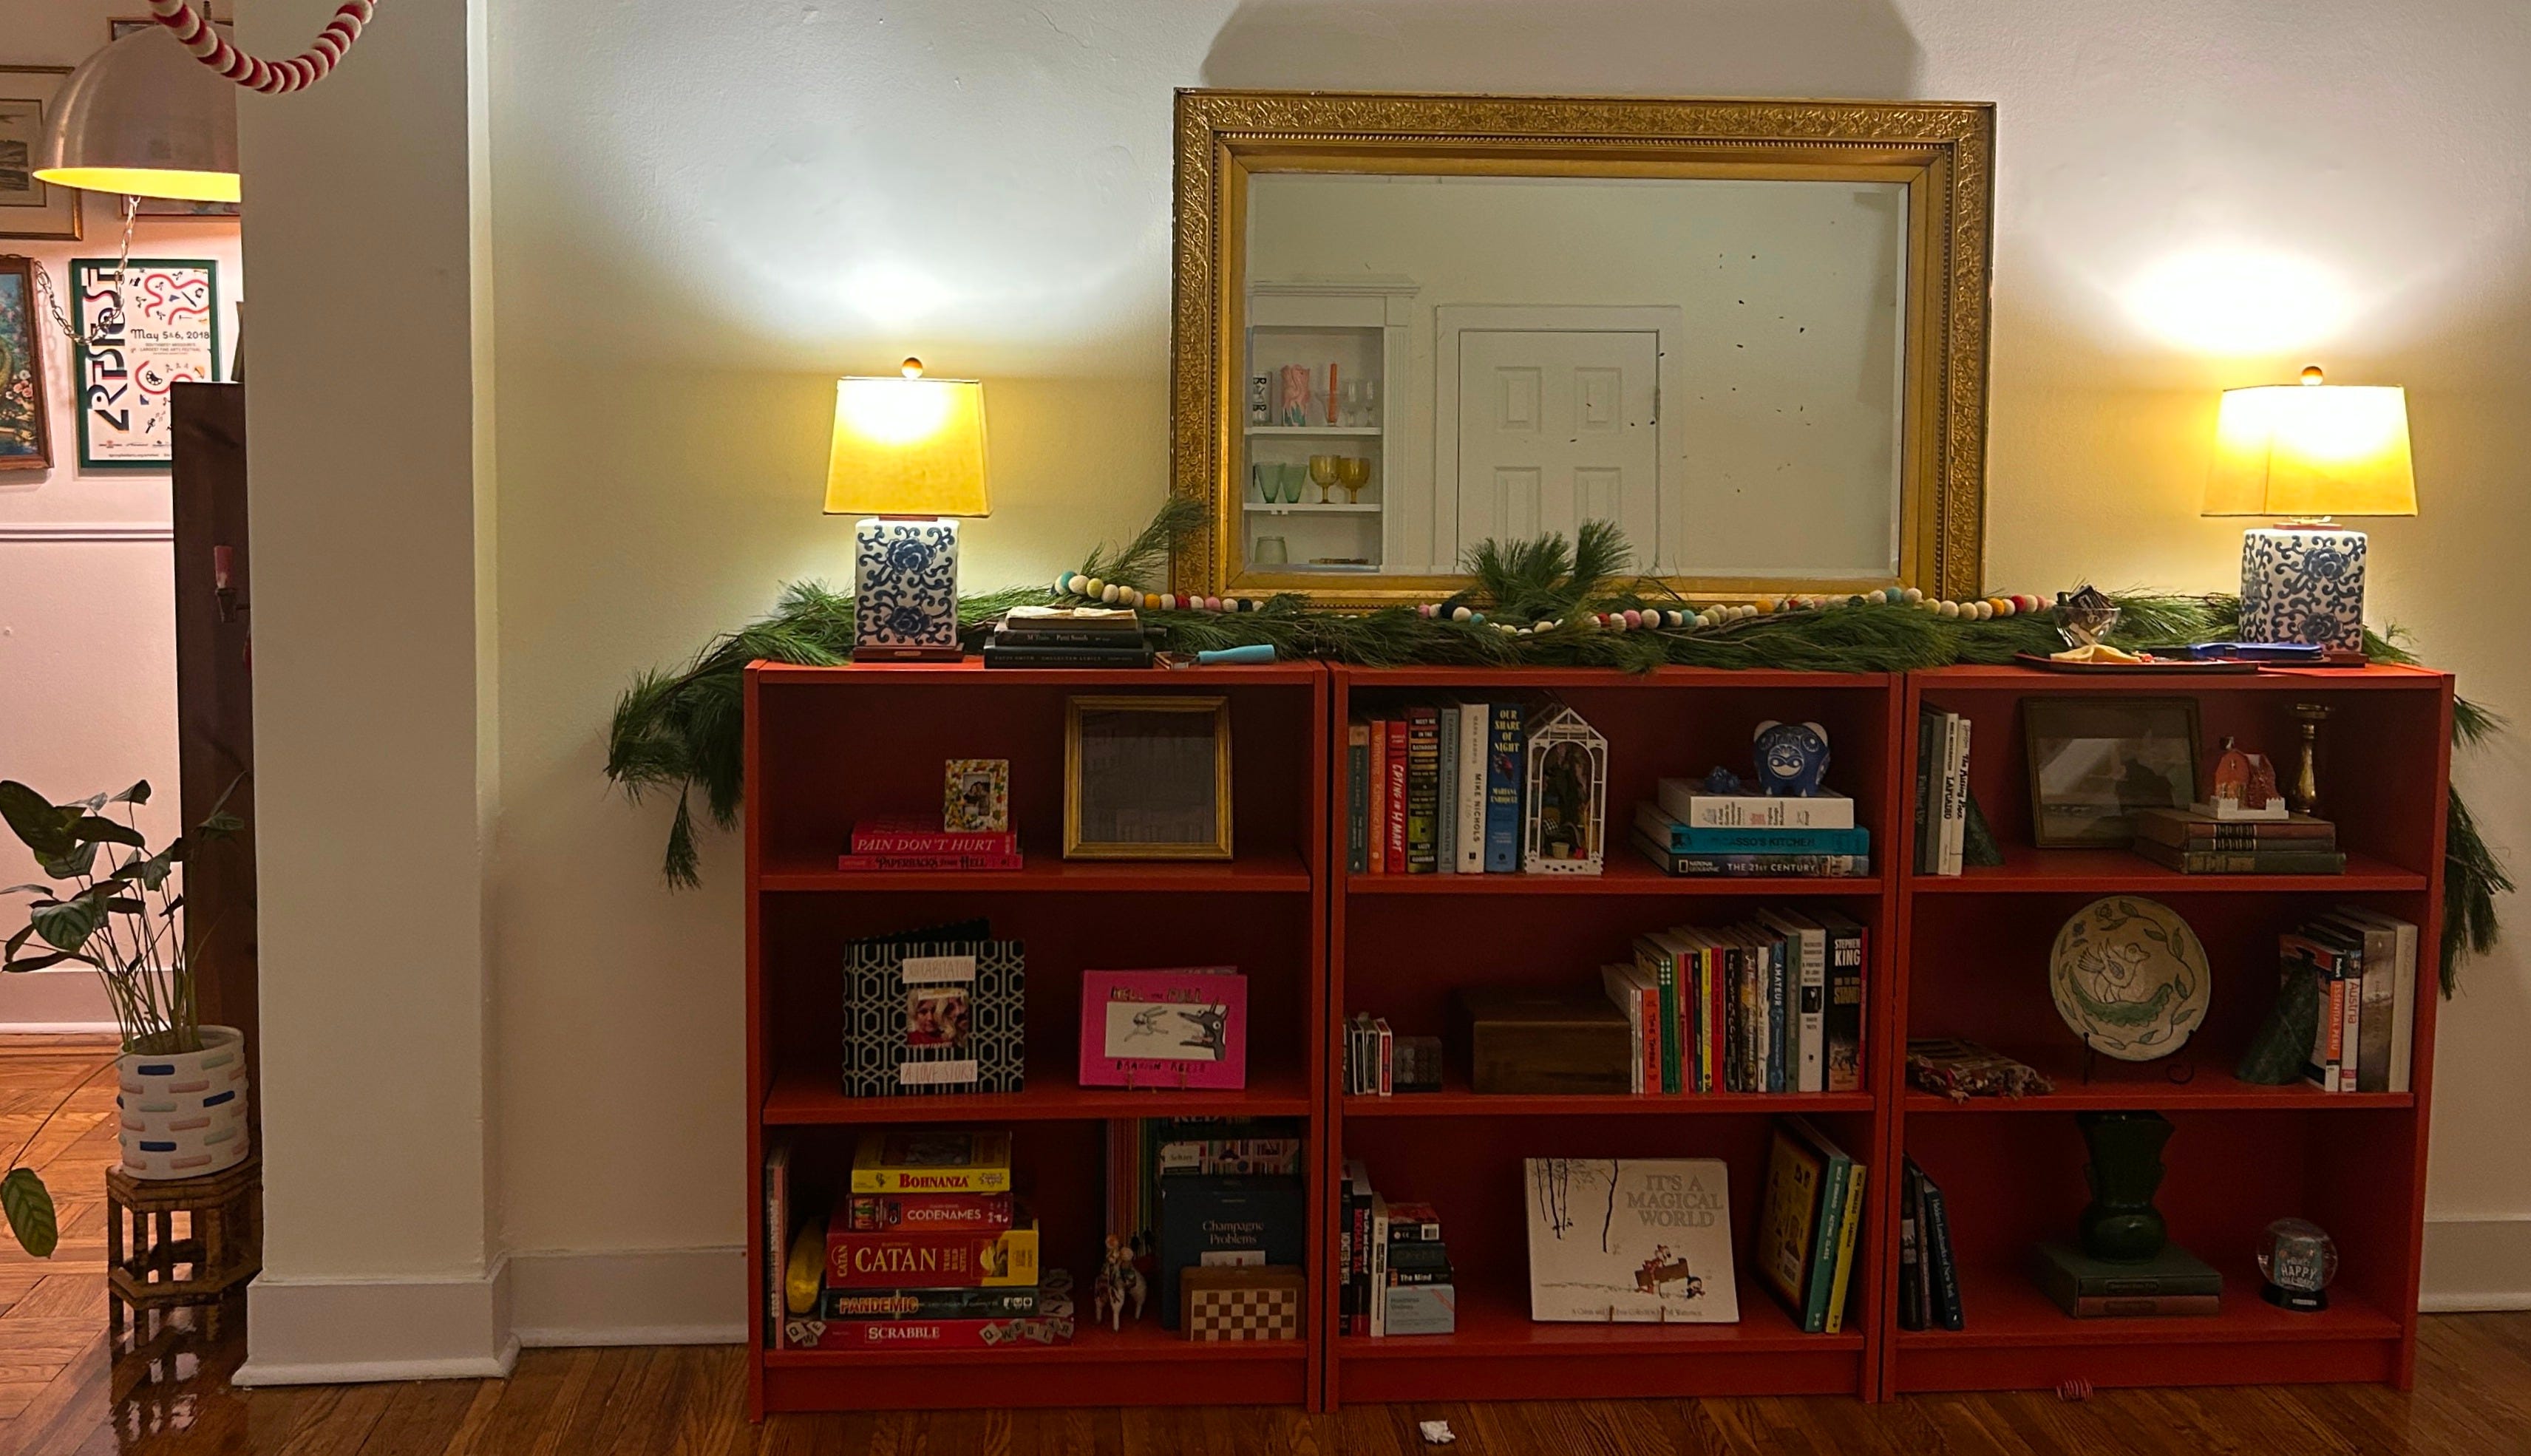
Eventually, I’ll probably add some caulk and some sort of wooden/marble topper slab to these bad boys to make them look more cohesive. For now, I get a real kick every time I walk into the apartment and see some big-ass furniture of my own making.
Next week (I promise), I will outline my second IKEA hack: creating an absolutely goddamn massive TV console out of two separate floating cabinets. Until then, here’s YEAH, BABY, YEAH, our regularly-scheduled roundup of little treats:

Here’s what I love this week:
My new cherry-red toolbox: My partner and I have been sharing a toolbox since we moved in together, but I wanted one of my own because I’m particular about how I organize my little tools. Eek, it is so cute, and so much cheaper than some better-known brands. It’s holding up great and is very roomy.
Giant box of Goldfish: We’ve started buying the two-pound box of Goldfish. Many people do not realize this is legal for adults.
New Mariana Enriquez: I am an Enriquez devotee, and her newest collection of creepy short stories did not disappoint. I wolfed it down in, like, a day. If I keep inhaling these primer fumes, maybe I’ll be able to see ghosts sometime soon.
Thanks for reading! If you need me, I’ll be evaluating the long-term impact of primer fumes on my fertility.
big ass furniture,
Lil
My Ikea Billy hack started and stopped when I tried to paint the backs without priming them and then all the paint peeled off, the backs swelled up, and would no longer fit into the grooves. So I got rid of them which does look like a choice but it's my secret shame. This is very inspiring! May I recommend Alexandra Gater's YouTube channel? She does many Ikea hacks: https://www.youtube.com/alexandragater
your wall shelf experience is so inspiring. maybe I'll try this myself in 2025!